This post may contain affiliate links. If you choose to make a purchase through these links, I earn a small commission at no cost to you. I do not promote anything I do not believe in or stand behind.
Are you in the process of transitioning your toddler from her nursery to a big-kid bedroom? Are you looking for ideas about how to transform her room from a nursery fit for a baby to a bedroom fit for a toddler? If you answered yes to either of these questions, then this post is for you!
I am sharing 7 steps you can follow to make the process of designing and arranging your toddler’s bedroom fun and simple.
My goal is to teach you how to design a toddler bedroom that reflects her personality, interests and is organized with everything in its place. Oh, and learn from our mistakes!
Before I get into this post, make sure to check out my Designing & Organizing A Toddler Bedroom: A Planning Workbook. It’s a free 8-page workbook filled with fillable pages & checklists to help you plan and complete your own toddler’s dream bedroom space! Click on the image below to grab your free planning workbook.
We followed these exact 6 steps when we moved our toddler from the nursery to our former guest room. We were expecting baby #2 and our daughter was getting too big for the crib. I am still in disbelief that my little girl is no longer a baby, but a talking, walking, active toddler, but that’s a story for another day 🙂
When you follow these 7 steps, you will have an organized, decorated and special room put together that your toddler will love to call her own. Let’s get started!
Step 1: Choose a theme for your toddler’s bedroom.
The theme drives the remaining decisions you make for the bedroom. This includes wall color, furniture and accessories (pictures/artwork, bedding, rugs, curtains) for the room.
My daughter LOVES Minnie Mouse. She lights up every time she sees “Me-Me” on TV, in a book, in a picture or in person. Therefore, Minnie Mouse was the inspiration for her room. In fact, her second birthday party was inspired by Minnie Mouse because her interest was so strong. I included a few Minnie Mouse bedroom accessories on her birthday wish list, too.
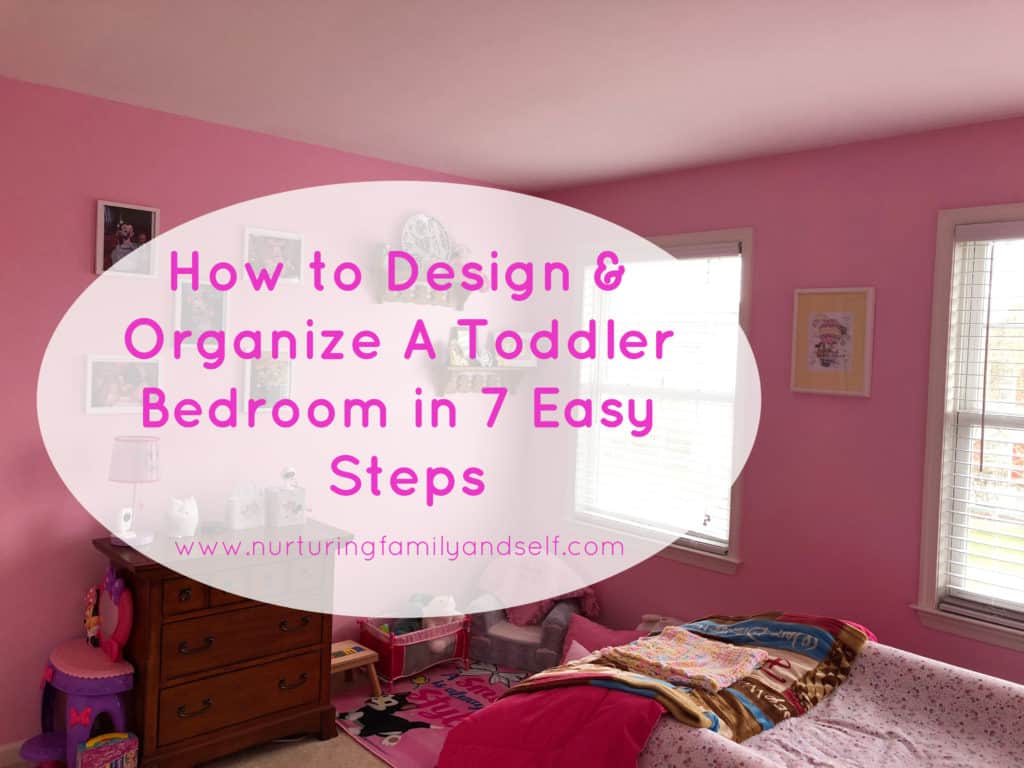
Nothing screams little girl’s room (or Minnie Mouse) like the color pink! So that’s the wall color we chose.
Hanging Pictures on the Wall
These simple white 8×10 frames display pictures from meeting Minnie Mouse during our trips to Walt Disney World. These doubled as a decoration for her Minnie Mouse themed birthday party, too!
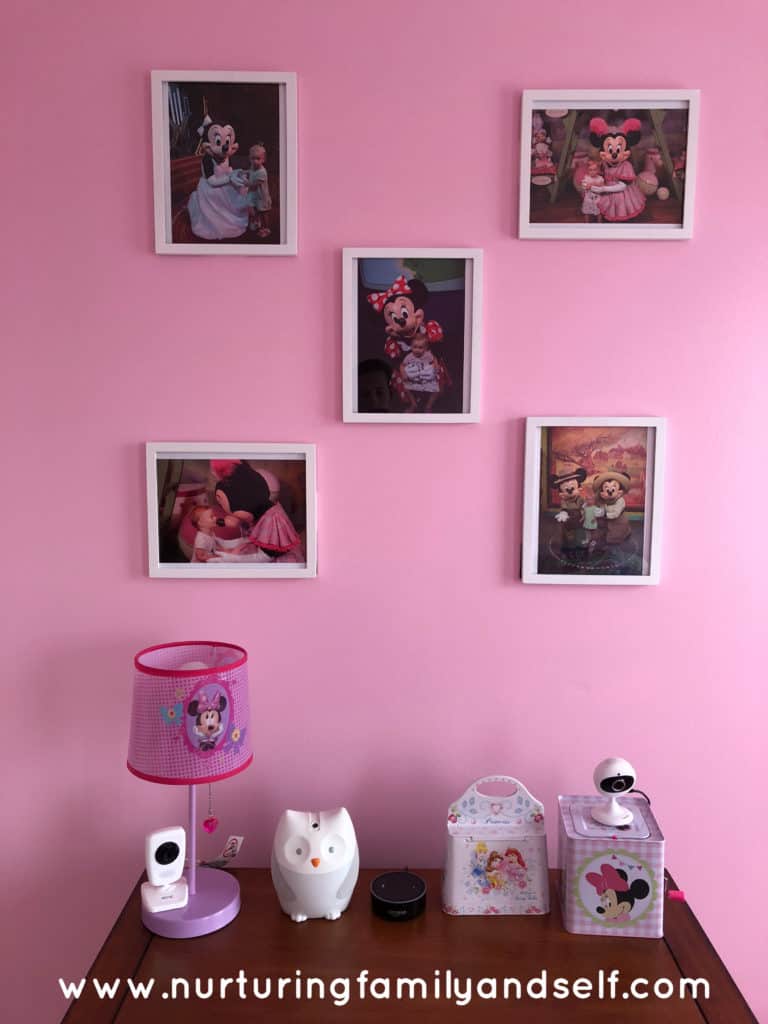
As our toddler’s interests change and she gets older, we can change the pictures to reflect her current interests & experiences.
Another way to decorate the walls is by printing stock photos off the Internet that match the chosen theme for her room. This is a great mom hack shared by my friend Lauren over at My Favorite Job Title is Mom.
You can also design your own prints in PowerPoint or on websites like PicMonkey. Just use the clip art images, fonts and graphics to create one of a kind art prints for your toddler’s room.
Hang the pictures with Velcro picture hanging strips so there are less holes in the wall. That way, if you ever want to change the layout or location of the pictures, the wall stays damage-free.

Install Floating Wall Shelves
These floating wooden shelves allow us to display fragile knick knacks, small picture frames and special mementos from our daughter’s baby days. All of these things were inside a box in her closet. We wanted them out for her to look at and enjoy.
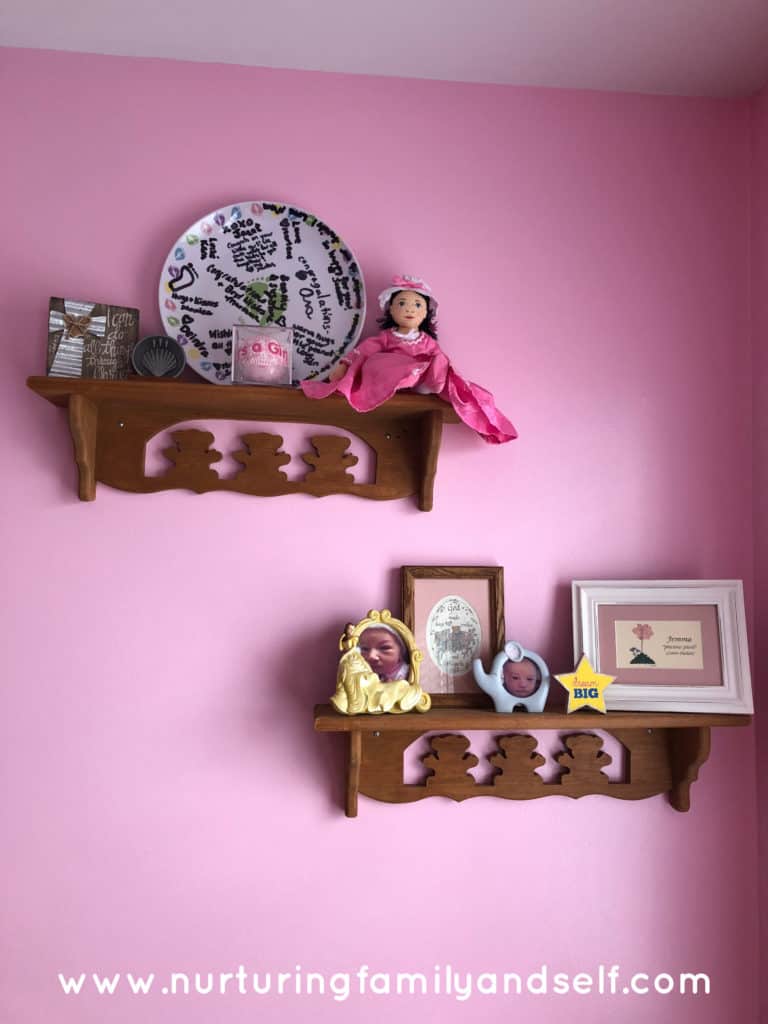
We hung the shelves at a height out of reach for our daughter.
Both the picture frames and floating wood shelves were hung on the wall across from her bed. This way, our daughter can enjoy looking at them while laying in bed. Also, if they should fall down for any reason, we don’t risk them falling on her head while she is sleeping.
Step 2: Purchase helpful accessories for your toddler’s bedroom.
An Echo Dot makes a great music player. It takes up less space than a CD player and CDs. You can activate Alexa skills to play nature sounds, household sounds like a fan and white noise to help your toddler sleep at night.
A cute night light prevents the bedroom from being so dark at night. Any nightlight that projects stars on the ceiling is fun for a toddler! She can lay in bed and look at the stars and moon.

Putting a monitor camera in your toddler’s room helps you to see what she is doing during wake ups. We can see if our daughter is playing with her stuffed animals, reading books or waiting at the door for us to come get her in the morning or after nap. When she occasionally has a nighttime wake up, we can see if she is just stirring and finding a spot on her bed or at the door needing mommy or daddy to come in.

To keep your toddler safe and secure in her room, install a door knob cover on the inside of the bedroom door. We don’t have a safety gate at the top of our stairs. Therefore, keeping her door closed with the door knob cover on the inside keeps her safe. We don’t need to worry about her wandering out of her room in the middle of the night and falling down the stairs.
Step 3: Clear out the room.
This room was our guest room. We emptied the closet (it was storing random things) and took all the furniture out. We figured out alternative places to store everything that was in the room. As for the furniture, find other areas in your home where you might be able to use the furniture. This avoids finding space to store it. For example, we utilized the dresser as additional storage in our eat-in kitchen. The drawers are too shallow for storing clothes, but work well for cutting boards and plastic bag storage!
Sort through the items removed from the room and decide to keep, donate or sell.
The full-size mattress set that was in our guest room was going to be our daughter’s bed. However, the bed frame is much too high for her. So we opted to store the bed frame (it comes apart in pieces) and place the box spring and mattress directly on the floor in her room.
Step 4: Clean the room.
Dust, vacuum and shampoo the carpet. Wash the windows inside and out. Since the room is 100% empty, it’s the perfect time to give it a deep cleaning.
Step 5: Prep & paint the room.
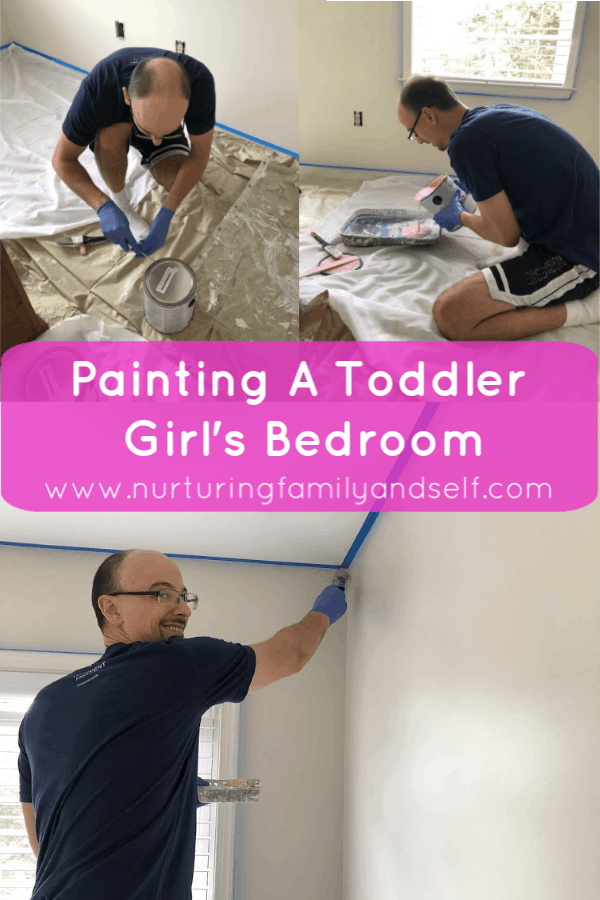
Put painter’s tape around the door frames and window frames. Remove vent covers, outlet covers, and lightswitch plates. Be sure to choose a day when it is nice outside so you can paint while the windows are open. The fresh air helps with the smell and airs out the room.
Step 6: Decide on furniture layout for your toddler’s bedroom.
Okay, the room is all clean and painted. Now what?
It’s time to arrange the furniture and put her bedroom together.
How do I arrange my toddler’s bedroom?
My advice is to start with the biggest furniture pieces. This was the bed and small dresser for us. We chose to minimize the furniture in our toddler’s bedroom and maximize her closet for storage.
The small dresser was placed on the wall where the outlet for the lightswitch is located. It helps hide the cords being plugged into the outlet. It also provides us with a surface for the light, Echo Dot and monitor camera.
The bed was placed on the opposite wall, covering up another outlet and phone jack. We made sure it was at least 2-3 feet from the windows. We didn’t want our daughter bumping the window sills that stick out or playing with the blinds. To keep our daughter safe in the bed, we purchased side bumpers. They prevent her from rolling off the bed and give her something soft to snuggle against. We put pillows at the head of the bed to create a soft barrier against the wall.
Create areas within the bedroom.
A reading corner is a great area to set up for your toddler. Reading is such a positive activity for your child. This is a cozy place filled with large pillows, stuffed animals, an ultra soft area rug and a warm blanket. You can even set up a tent for her reading spot. A quiet, cozy area for reading her favorite books is important for a toddler.
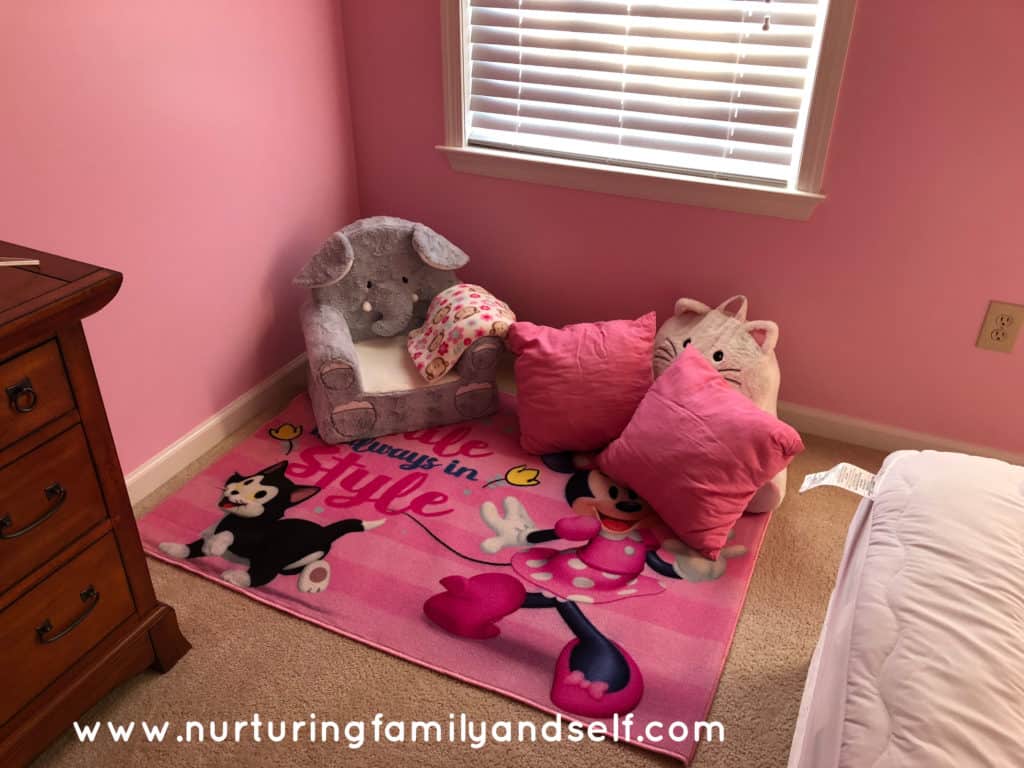
Related Post: 12 Ideas for Creative Reading Spaces for Kids
Step 7: Organize and put everything away.
Make the most of closet space by placing cube shelves or plastic storage drawers on the floor. Toddler clothes don’t hang very low so this is the perfect way to maximize storage in her room.
You can purchase cube shelf baskets in a color or pattern that coordinates with the bedroom theme. There are so many options out there!
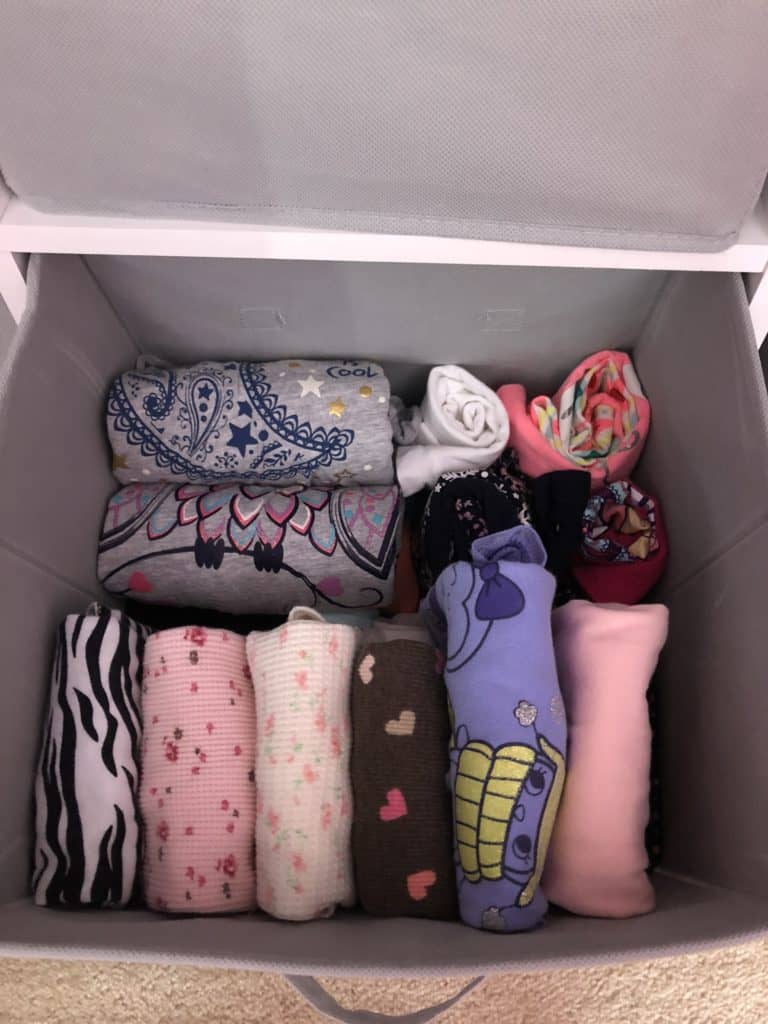
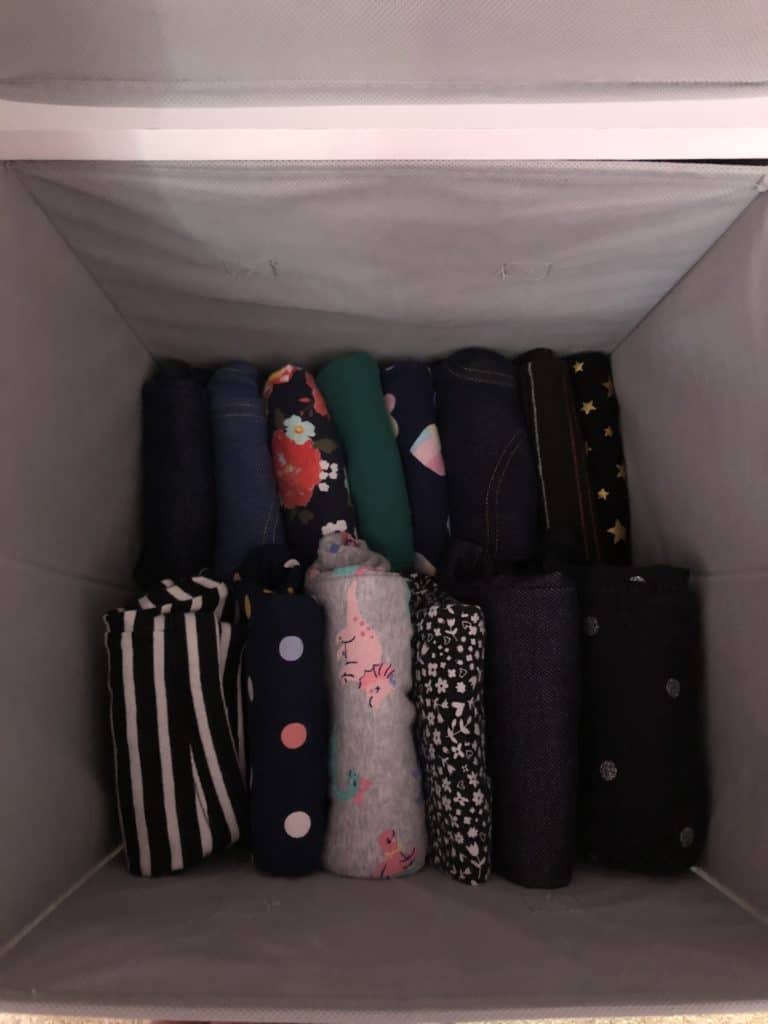
Use the cube shelf baskets to store clothes, accessories and toys. We organized our daughter’s clothes by type. Then, rolled each clothing item. This maximizes the space and makes it easy to see each piece of clothing. No more digging through piles of clothes!
Use space saving hangers for hanging shirts with thick embellishments (they are hard to fold), dresses, jackets and bulky sweatshirts.
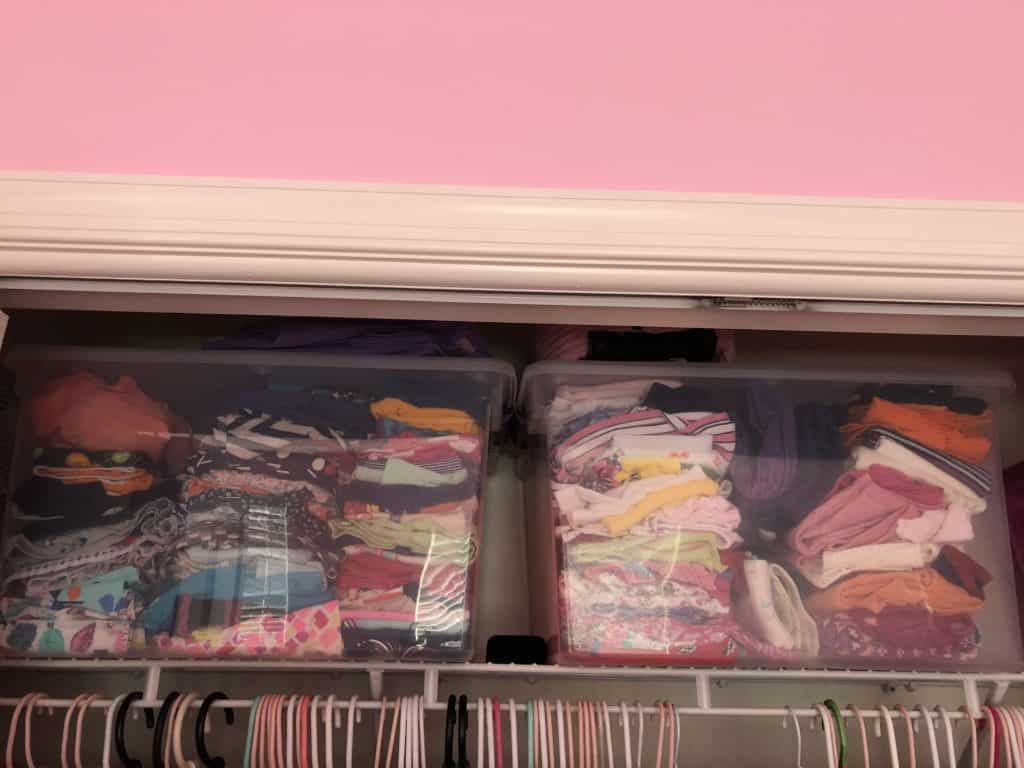
Place two plastic bins in the closet. One for clothes that are too big and one for clothes that get outgrown. Once the bin of outgrown clothes is full, label it and store it away. To maximize storage of outgrown baby clothes, read this mom’s clever hack here.
Hang a pocket shoe organizer on the back of the bedroom door. Use it for storing toys or small accessories. We use it for storing slippers, hair accessories and my daughter’s jewelry collection. She loves her bracelets and bead necklaces!
Baskets and shelves are a great solution for storing stuffed animals and books. We used a dollhouse, that was mine as a little girl, for housing our daughter’s stuffed animals and dolls. A basket for books went on the bottom shelf. We rotate the books in the basket, storing additional books in her closet on one of the cube shelves.
A storage bench also makes a great place to store toys and stuffed animals. We put a few of our daughter’s favorite toys in the bench to give her something to play with when she wakes up in the morning or after her nap. This buys me some extra time to finish whatever I was doing or try to accomplish a few smaller tasks before going to get her.
Additional Helpful Tips & Tricks
There were a few things we learned once our daughter was transitioned to her bedroom. These things seemed like great ideas initially, but didn’t work once our daughter was sleeping in her big-girl room.
Did you know they make locks for bi-fold closet doors?? My husband and I certainly didn’t!
We were racking our brain trying to come up with a way to keep our daughter from opening the closet doors. One day, after naptime, she opened the doors and took all the clothes and diapers out of the cube shelf baskets. They were strewn all over the floor. So, my husband did an Internet search and came across these bi-fold door locks. Genius! They have worked wonders at keeping her from making a mess of her closet and avoiding pinched fingers where the doors fold.

We placed a tall laundry basket in her room for dirty clothes. Well, she thought dumping out the clothes and putting them on was a fun activity. Needless to say, we moved it out of her room and placed in the bathroom.
Involve your toddler in the organization process. She can help put away clothes in the closet, books in a basket and stuffed animals on a shelf. It is a way for you to spend time together while teaching her how to put her things away. Toddlers love to help! Plus, spending time in her room before transitioning her to it will make the move to a big-kid bedroom much easier.
To Sum Up
There you have it! Your toddler’s bedroom designed, organized and set up in 7 easy steps.
The process of designing our daughter’s bedroom was exciting and fun for my husband and I. We 100% did it ourselves and are happy with the finished product.
I hope you feel inspired by the tips and ideas I’ve shared. Don’t forget to grab your free 8-page planning workbook by clicking on the image below. I want to help you plan, design and organize a bedroom space that is just for your toddler.
Be sure to save this post so you can reference it later 🙂
Leave me a comment below telling me the one thing you are excited to try (or something you did to make it extra special) when setting up your toddler’s bedroom.


These are awesome tips! When we move, I’m excited to set up a new room and playroom for my son. He’s still at the crib stage, so I’m not setting up a toddler bedroom quite yet. However, I definitely want to do a fun theme and include a reading corner. I love the idea of using picmonkey to make wall art. I used stock photos in Paxton’s nursery and now that I have a Cricut, I’m sure there’s a lot I can do with that. However, I’m definitely going to try the picmonkey idea too!
Thank you for the comment Lauren! We had so much fun setting up our daughter’s bedroom and I know you will have fun setting up your son’s new room and playroom 🙂 There are so many things you can design on picmonkey with the variety of graphics, fonts and layouts. My friend used her Cricut to create Mickey & Friends wall hangings for her son’s playroom. It made the playroom such a fun place for her son. Good luck with your move and with setting up the new rooms!
I love this, I love decorating! It’s so much fun. Thank you for the tips!
Thank you so much for the comment Trish! I agree that decorating is so much fun. I’m glad you found the tips I shared helpful. Happy decorating!
This is a cute guide! I think my favorite part of creating any room is the organization. I like when things have a place!
Thank you Lisa! Yes, I agree. Puts your mind at ease when everything has a place.