This post may contain affiliate links. If you choose to make a purchase through these links, I earn a small commission at no cost to you. I do not promote anything I do not believe in or stand behind.
We started preschool with mommy last week and it’s been so much fun learning all about apples and the letter Aa right alongside of my daughter. We are following Playing Preschool Year 1 from Busy Toddler and the first two weeks are all about apples 🍎🍏🍎🍏
We are reading a variety of fiction and nonfiction books about apples, apple picking, eating apples and counting apples. We’ve also sorted apples by color and made some yummy snacks and meals using apples. We are doing all the apple art projects, too!!
My daughter LOVES painting, drawing, cutting and creating so I knew this easy apple art project would be a fun one for her. We did a similar project for Valentine’s Day, making a coffee filter heart mobile. We also created pretty snowflakes for the winter ❄
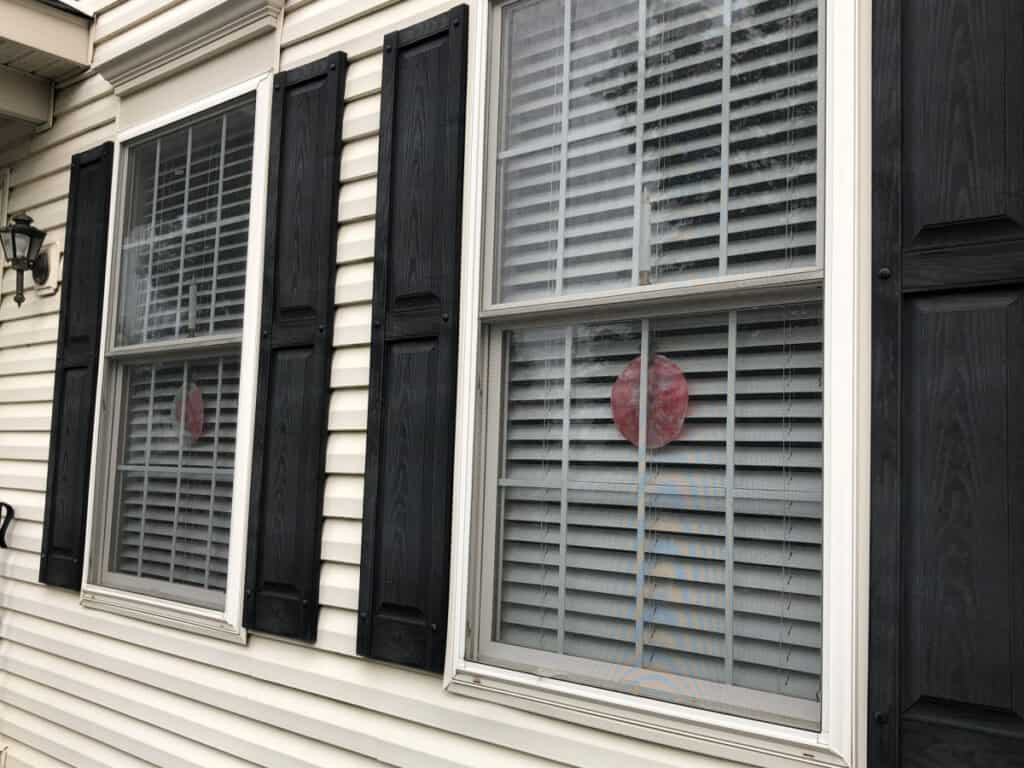
Besides wanting a fun, engaging and easy apple art project for my daughter, I also wanted a simple fall decoration for the windows in the front of our house. The snowflakes we made in the winter adorned our windows and the transparency of the coffee filters looked so pretty with the light shining through.
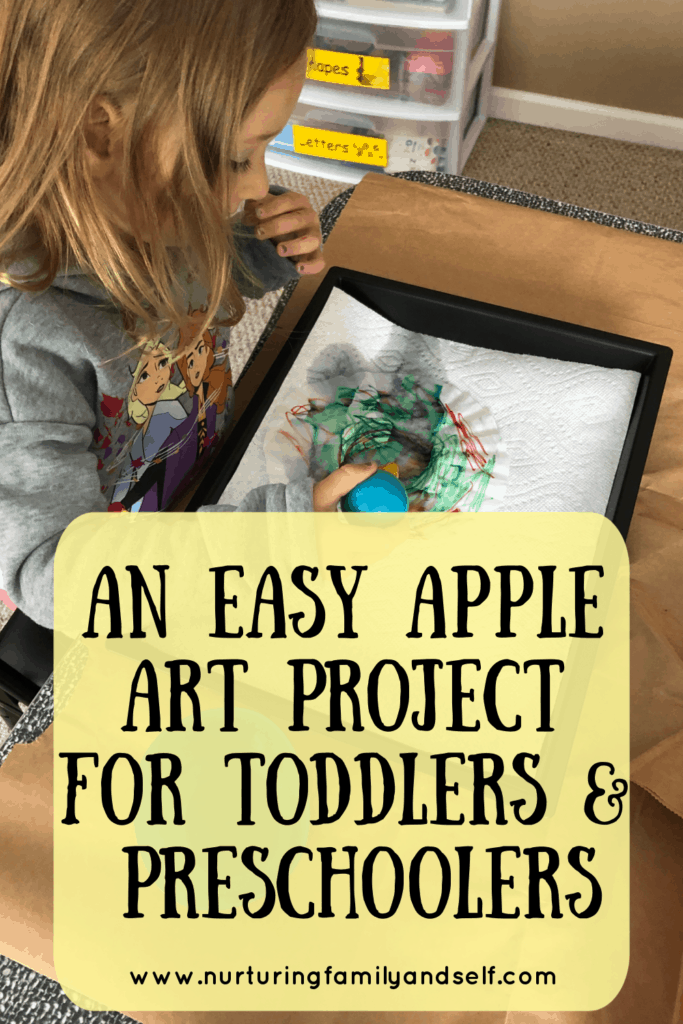
Materials You Need for Coffee Filter Apples
This easy apple art project uses very little materials, most of which you already have in your house: basket coffee filters (white ones), washable red & green markers, brown construction paper for stem, green construction paper for leaves, and water dropper (or sponge brush).
I chose to laminate our finished apples because I was hanging them on the windows (and plan to for years to come 😉🍎). Laminating them makes them more durable, but this is definitely not necessary. I do love my laminator and enjoy using it to make art projects and activities I make for the kids last longer. Putting your finished apples in between sheets of contact paper is another option. You can even glue your finished apples on sheets of construction paper or just hang as is on the refrigerator. It’s truly up to you how you want to display your child’s finished project!
How to Make Coffee Filter Apples
First, decide how many apples you want to make. This is how many coffee filters you will need for the project. I knew I was hanging the finished apples on the front windows of our house so I used 8 coffee filters, but you can do less or more. I laid a brown paper bag that I cut open underneath the coffee filters. You could also cover your surface in brown drawing paper. It is heavy duty and will prevent the water from bleeding through to your table.
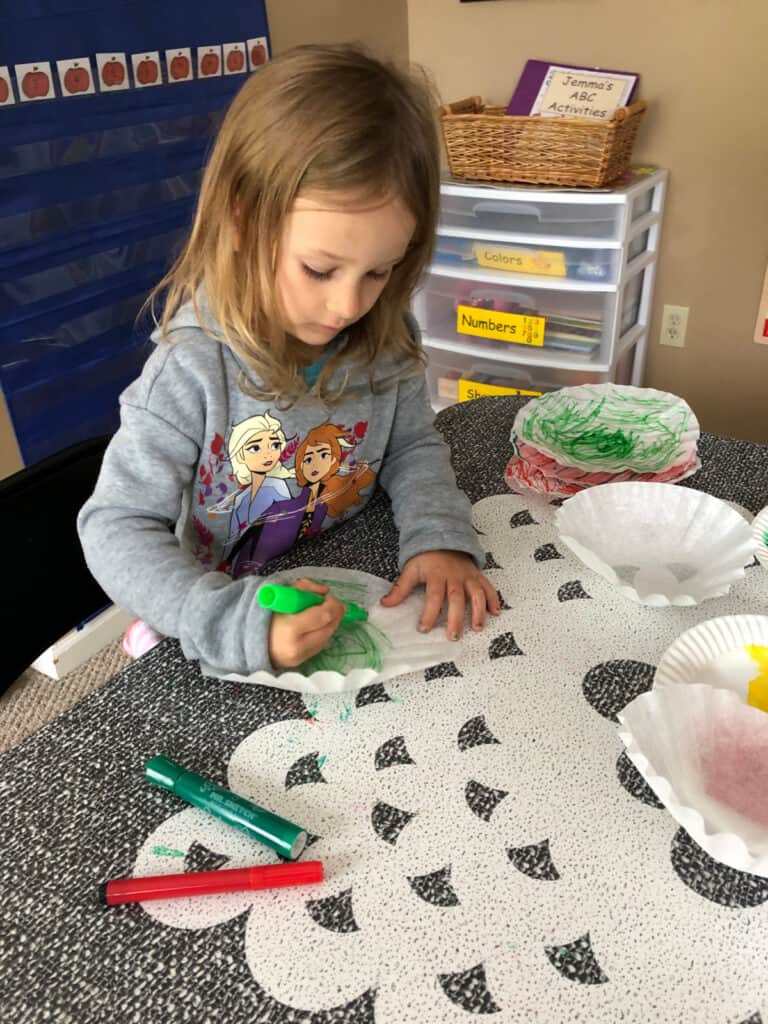
Next, flatten the coffee filters and use the washable red and green markers to color each one. You don’t need to fully cover the coffee filter in color, but the more color there is, the brighter it will be when dry. I let my daughter choose how she wanted to color the coffee filter apples. I did help color some of them because she didn’t want to color all 8. This made it a fun mommy-daughter project ❤
Some of the coffee filter apples are all red. Some are a mix of red and green. Some are green. It truly doesn’t matter how your child colors the coffee filter apples because the colors will blend together and create a very pretty, watercolor look to them. Each one will look different, which makes it a fun art project.
After all of the coffee filters are colored, have your child use the water droppers (or sponge brush) to wet the coffee filters. Use a little bit of water at a time and observe how the color blends together. A little bit of water does go a long way!
Using the water droppers turns this art project into a fine motor activity. My daughter LOVES using the water droppers and was excited when I brought out the supplies for this art project. She went a little crazy with the water at times, but she was having fun!
Let the coffee filters dry completely on the brown paper. It actually doesn’t take long for them to dry because they are so thin.
Once the coffee filters are dry, it’s time to turn them into apples by adding stems and leaves! Cut thin rectangles out of the brown construction paper for stems, one for each coffee filter. Cut out leaves from the green construction paper, one for each coffee filter. Glue a stem and leaf onto each coffee filter apple. If you are laminating (or gluing onto construction paper background), now is the time to do it. If not, your easy apple art project is complete 🍎😍
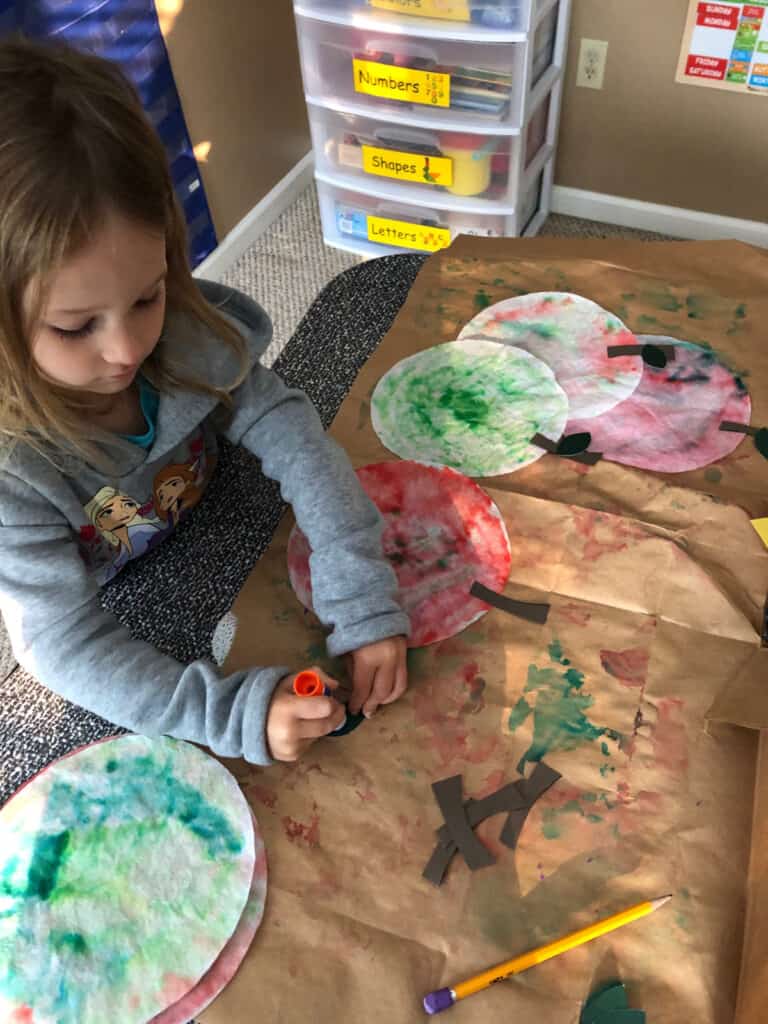
This apple art project is a great addition to an apple-themed unit, is easy enough to do and looks pretty when complete. You can even have a discussion with your preschooler about what happens to the color when you use less water/more water or cover coffee filter in more color/less color.
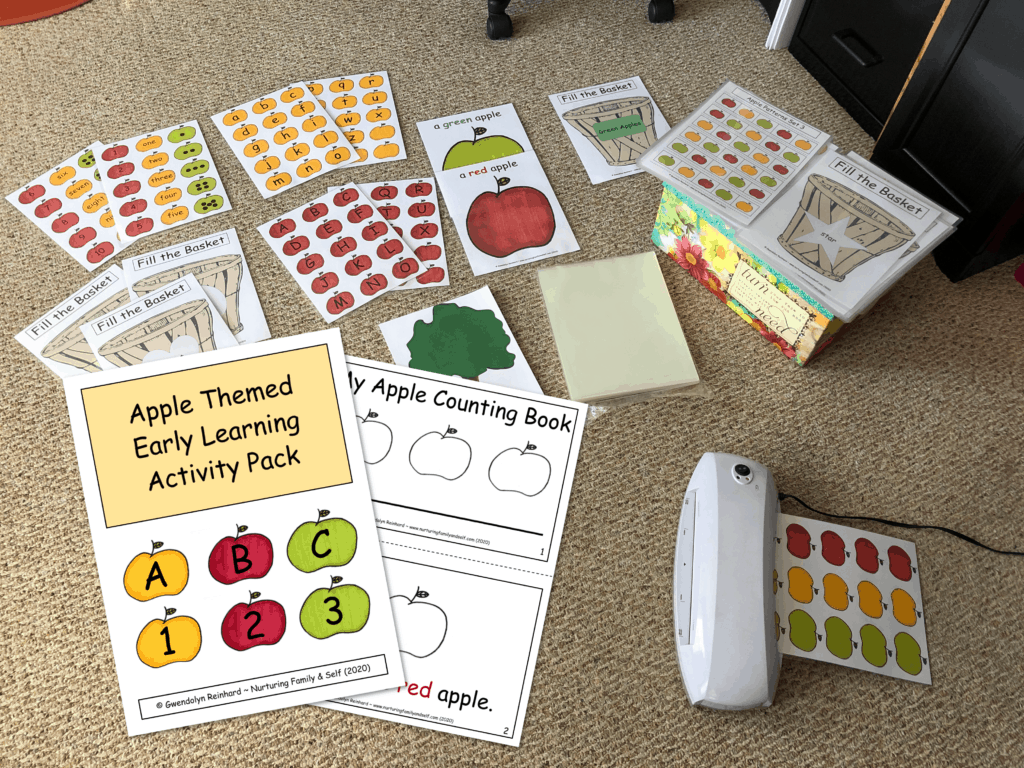
If you are looking for more apple activities to engage your preschooler in, be sure to check out my Apple-Themed Early Learning Activity Pack. This activity pack is a wonderful complement to the coffee filter apples art project and contains hands-on activities for practicing colors, shapes, letters, numbers and patterns. Plus, you can enjoy putting together and reading the emergent reader My Apple Counting Book and playing the Apple Counting Game.
Be sure to pin this post and share with moms and preschool teachers who are looking for a fun and easy apple-themed art project to do with their little ones. I’d love to hear your feedback on the project in the comments below 😁




You are amazing!
Thank you for sharing.
Blessings Always,
Rose
Thank you for reading and commenting! I appreciate it. I’m happy to share the different activities I do with the kiddos!